Having your bike brakes in good working order is essential for a safe and pleasurable ride, especially if you’re commuting in an urban environment where unexpected situations occur frequently. Properly adjusted brakes can enhance your control and confidence on the road. Here’s a detailed guide on how to adjust your bike brakes, focusing on the most common types of brakes found on commuter bikes.
Tools You May Need
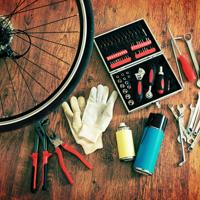
Before you start, gather the necessary tools to make the job straightforward:
- A set of Allen keys (usually sizes 4mm or 5mm will do)
- A Phillips screwdriver
- Pliers
- A wrench or adjustable spanner
Having a clean cloth and some lubricant on hand could also be helpful in case you need to clean any components or ease any sticky parts.
Understanding Your Brake System
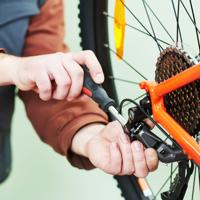
Most commuter bikes are equipped with either rim brakes (like V-brakes or caliper brakes) or disc brakes. Understanding which type you have will direct your adjustment process.
Rim Brakes
Adjusting V-Brakes
-
Inspect the Pads: Start by checking the brake pads. They should hit the rim squarely and not rub against the tire. If they appear worn out, it might be time to replace them.
-
Loosen the Nuts: Use your Allen key to loosen the nut holding the brake pad in place. Align it so that the whole surface touches the rim. Tighten it back once aligned.
-
Adjust Cable Tension: Locate the barrel adjuster on the brake lever. Turning it counterclockwise increases tension and reduces slack. Pedal the bike and test to see if the adjustment is satisfactory.
-
Center the Brake Mechanism: Test the brakes by pulling the lever to see if both pads make contact with the rim simultaneously. If they don’t, use your wrench to adjust the centering screw near the brake arm.

Caliper Brakes
-
Alignment Check: Ensure the pads hit the rim evenly. Adjust using the nuts that secure the pads.
-
Cable Tension: Like V-brakes, you can adjust the cable tension using the barrel adjuster on the brake lever to correct any slack.
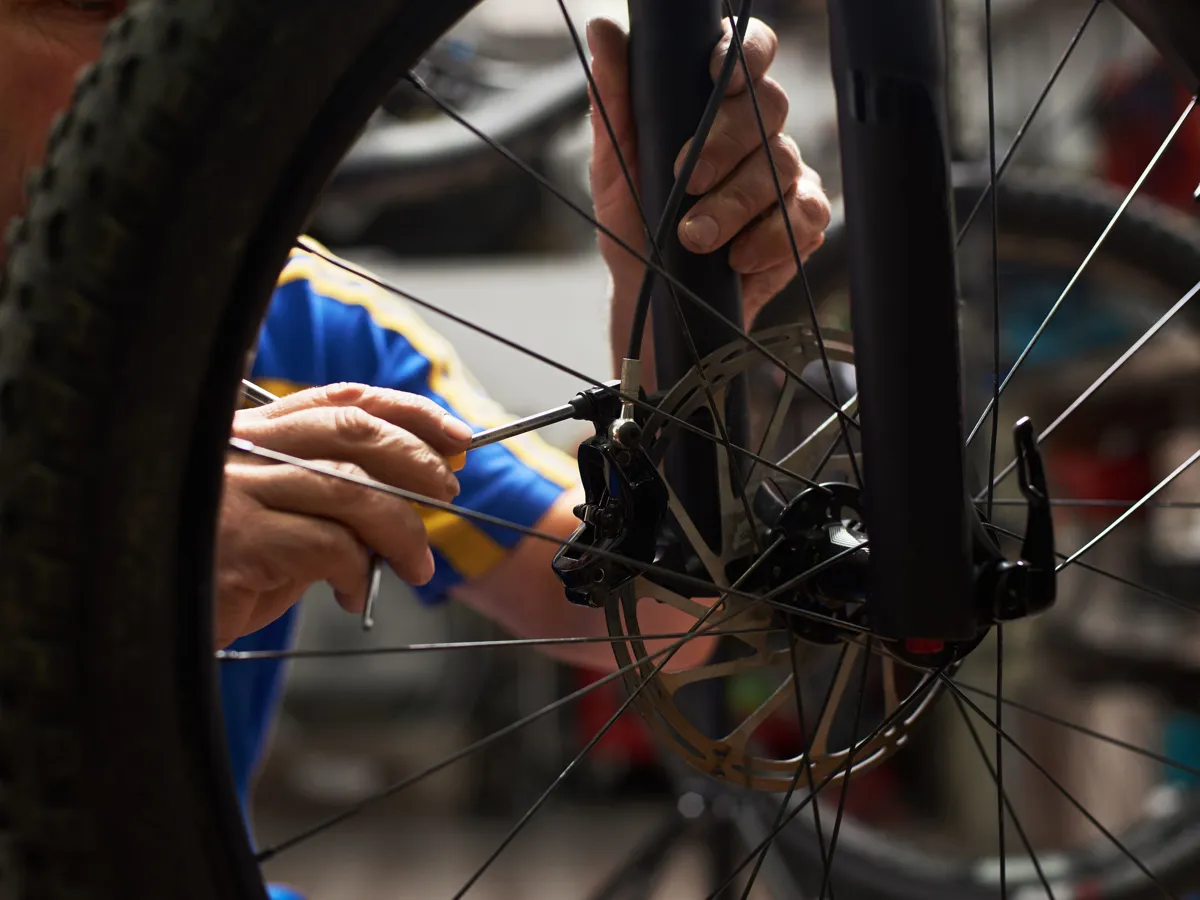
Disc Brakes
-
Inspect the Rotor and Pads: Make sure the disc rotor is not bent. The pads should still have adequate material left to engage the rotor effectively. Replacement is necessary if they are too thin.
-
Adjust Caliper Position: If you find the rotor rubs against the pads when not braking, you might need to adjust the caliper. Loosen the caliper mounting bolts slightly and squeeze the brake lever. This should help align the caliper properly to the rotor.
-
Cable or Hydraulic Adjustment: If your disc brakes are cable-actuated, adjust the cable tension just like with rim brakes. For hydraulic systems, consider bleeding the brakes if they feel squishy, which involves a more intricate process.
Routine Maintenance Tips
Ensuring your brakes are functioning well doesn’t end with occasional adjustments. Regular checks and minor tweaks should be part of your bicycle maintenance routine:
-
Clean the Brake Surfaces: Use a clean cloth and mild solvent to wipe off any residue from the brake pads and rims or rotors.
-
Lubricate the Cables (if applicable): If your brake system uses cables, periodic lubrication will help them move smoothly and prevent rust.
-
Replace When Necessary: Replace pads that are worn out or lose effectiveness over time, and don’t forget to periodically inspect the brake components for any signs of excessive wear or damage.
References and Further Reading
- Sheldon Brown’s Bicycle Technical Info: A treasure trove of detailed cycling tips, including brake adjustments. Visit Sheldon Brown’s website
- Park Tool’s Repair Help: Offers guides for multiple repair techniques. More at Park Tool’s repair help
Adjusting your bike brakes yourself can be a gratifying experience, providing a chance to understand your bike better and ensuring your personal safety. It’s about making small, informed adjustments rather than sweeping changes, and over time, this accumulates to create a better riding experience. Keep learning and tweaking, and enjoy the ride!